We're collaborating with the open source guys over at Microsoft on some content and events. One of the questions that came up was: what's the easiest way to set up Couchbase on Azure? Now, that sounds rather trivial - just look at the Couchbase docs and follow the instructions. But combine that with Azure and suddenly there's a dozen ways to go about the whole thing.
So here are my top 3 ways of setting up Couchbase on Microsoft Azure
- Azure Marketplace - use the prepared image
- Docker with Azure Container Servces - just
docker run - Just VM it - spin up your own VMs and install Couchbase
Let's go with the first choice, because it's by far the easiest.
In the Azure Portal, click the friendly + icon and search for Couchbase. You'll be presented with 3 choices, pick one of the Couchbase Enterprise versions, note that if you pick Silver Support that will result in additional charges for the Couchbase license. Bring Your Own License (BYOL) means exactly what it says on the tin. If you're just going to test out Couchbase, don't worry about it and go with BYOL.

Set up your admin credentials resource group and location. Note that the credentials are both for the VMs themselves and Couchbase Server, so if you intend to use them for anything other than testing, you really should change at least the Couchbase credentials, so they're not the same as the machine itself. If you're just playing around with Couchbase, I'd recommend making a new resouce group, so it's easier to clean up after.

Pick the type and number of nodes. If you want to test features like replication, high availability, failover, etc., you should go with at least 3 nodes. If you want to get an idea about performance, pick a node that supports SSD drives and at least 4 CPU cores.

Click through the rest of the prompts, agree to sell your soul and first born child to Microsoft and Couchbase respectively as part of the EULA, and just wait for the VMs to come up.
Eventually, the deployment will finish and you'll be able to connect to your shiny new Couchbase cluster.
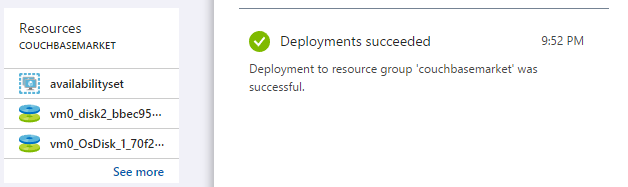
Click the deployment notification, or the resource group from your dashboard to see all the resources within that group. Pick any of the VMs - they're all part of the same Couchbase cluster, so you can use any one of them to manage the entire cluster - click the VM and find the public IP address in the VM overview.
Browse to http://<the public IP address>:8091 to access the Couchbase UI and use the credentials you set up earlier to log in. The newly created cluster has no buckets defined, so let's create some. Click the Settings tab, then click the Sample Buckets sub-tab, check all 3 of the sample buckets in the list and finally click the Create button on the bottom. Wait a minute for the sample data to be loaded.

Congratulations, your Couchbase Cluster is now fully operational. You can head over to the Query tab to try out some N1QL queries or something.
Remember that you can clean everything up by deleting the resource group you created in Azure.